My Account
 Service Status
 Help Center


How to Install Fast & Free Vesta Control Panel
Written by:
Will Kruss
on
18 October 2017 09:28 AM
|
|
|
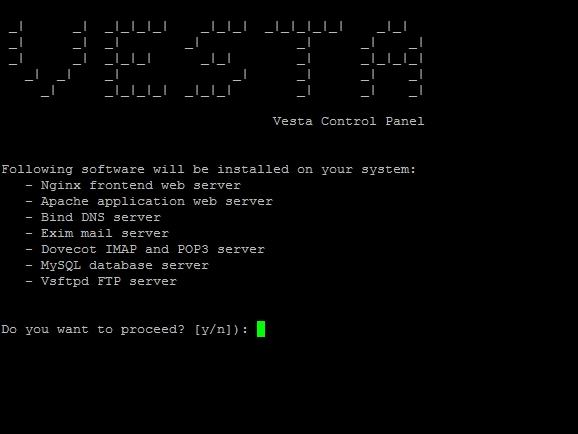
Complete tutorials about installing & using free control panel on a VPS. Do it yourself by following VPSBlocks. cPanel is great as a complete hosting package. But if you don't need features like a web based file manager, VestaCP is a free control panel that offers speeds far surpassing that provided by cPanel. It's fantastic for hosting CMS based websites such as Magento, Joomla, Wordpress, Drupal etc. Check out our sample Magento website running on a basic 1 CPU Core, 512MB Ram Linux Ubuntu 14 server at http://203.143.83.193/ Note: If you are not confident in following these instructions we offer this installation as an optional service to our customers during the ordering process. We recommend you choose Ubuntu 14 as your operating system, and during the order process will be asked if you would like the Vesta Initial Setup, the cost is only $20. INSTALLING VESTA CONTROL PANEL Start with a VPS, for Vesta we recommend Ubuntu 16 or Ubuntu 14 SSH into your new VPS Type: curl -O http://vestacp.com/pub/vst-install.sh Type: bash vst-install.sh Important note: If asked for a hostname you must put the name you gave your server e.g. vps.yourdomain.com. If you do not put the same name services will not be able to resolve the hostname to your local VPS and it will cause issues with NGinx and some other services.
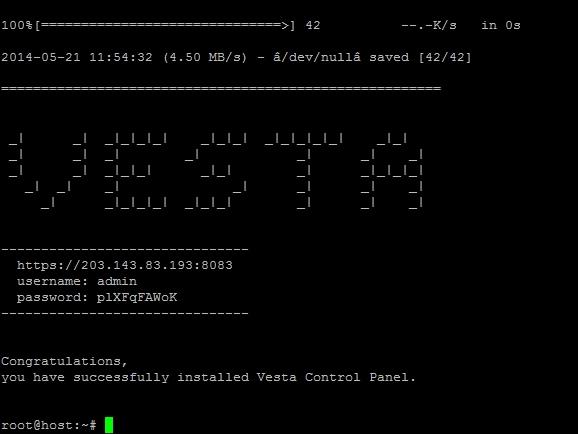
To start the installation press: y Enter your email address The installation will complete and at the end display your login credentials
Now run: update-rc.d mysql disable Disable AppArmor for Bind9 (named) so DNS serving will function properly AppArmor by default prevents Bind9 from reading it's own database files under /home/<user>/ location. So you need to run these commands:
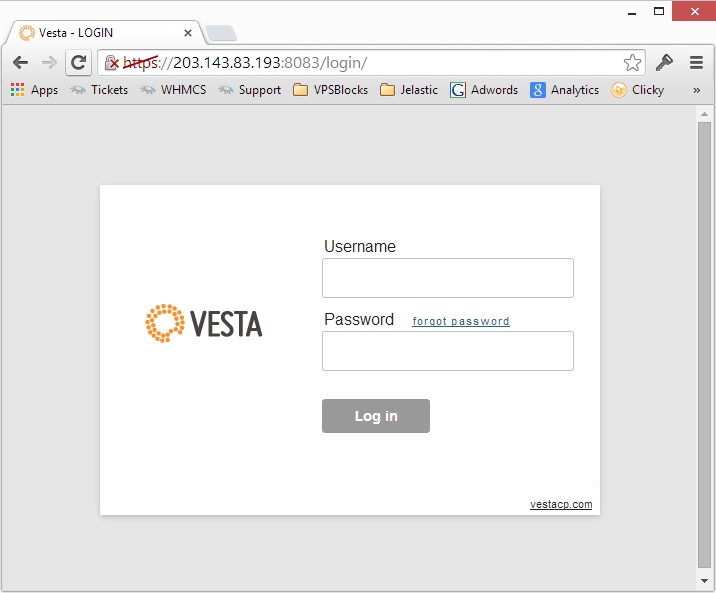
Visit https://YOURIP:8083 in your browser
Login using the credentials supplied to you
AUTO UPDATES We recommend turning on autoupdate On the top bar, click on 'Updates' and click on [ enable autoupdate ]
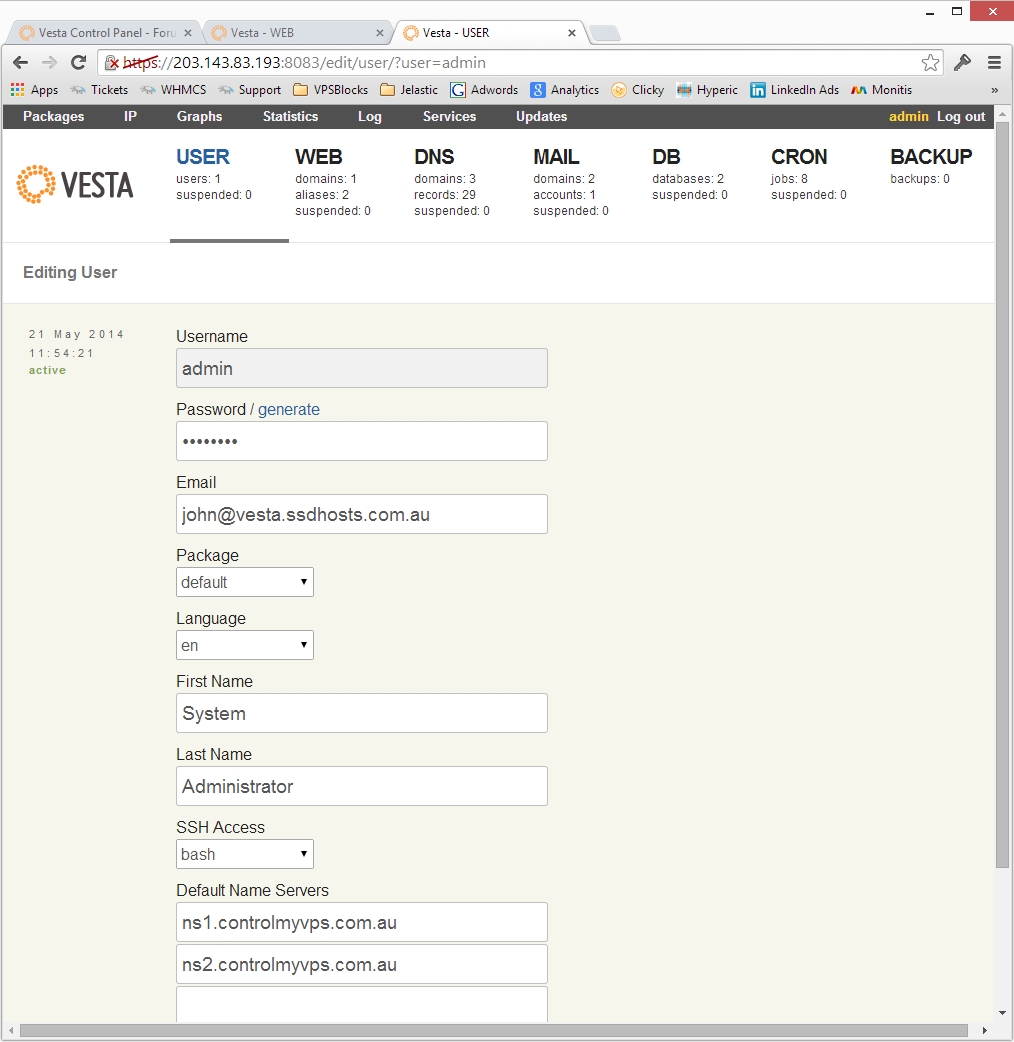
USERS By default the 'Admin' user exists. You can create another user in the 'USER' section. Ensure any passwords you enter are very secure, particularly if you enable SSH access for any users you create. For each user you create, as well as the admin user you can also set default name servers. If you are using your own name servers enter them by editing the user, if you are using our provided name servers, enter them (ns1.controlmyvps.com.au / ns2.controlmyvps.com.au)
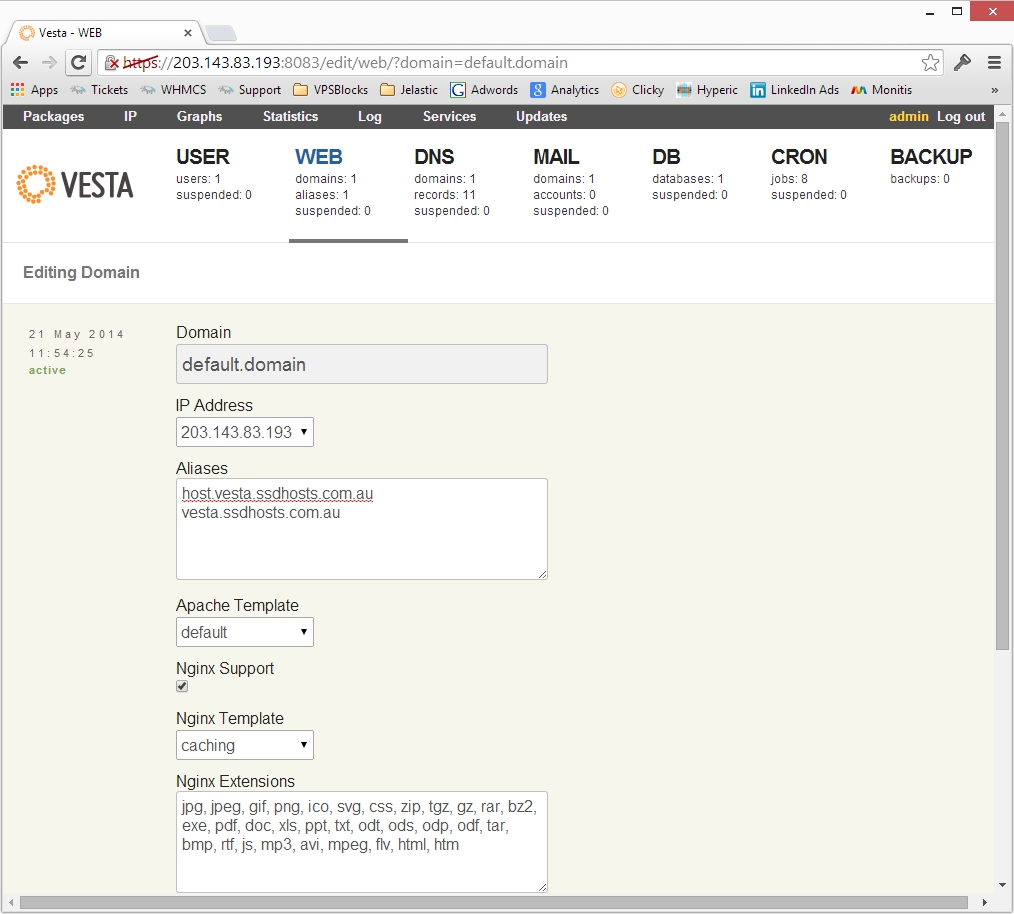
CREATING A WEBSITE Click on 'WEB' Click on 'edit' next to the default domain Here you should set the default settings for the webserver. For best performance we recommend you turn on Nginx Support and set the Nginx Template to default then click 'Save' Note: Leave the Apache Template as default. If you want to set it to php-fcgi for extra performance you must have more than 1G of RAM, but you need to modify a file manually in SSH. Edit /etc/apache2/mods-available/fcgid.conf (Ubuntu) (/etc/httpd/conf.d/fcgid.conf on CentOS):
You cannot edit the name for this website. This is the website that will always appear when you visit the IP address directly or any domains listed in the 'Aliases' section. If you are hosting a single or main website you can use the default website, and enter the domain names in aliases. Note by doing this that you will have to add MAIL manually for the domain. Alternatively, click on 'WEB' again and this time choose 'Add Web Domain' and add your new website.
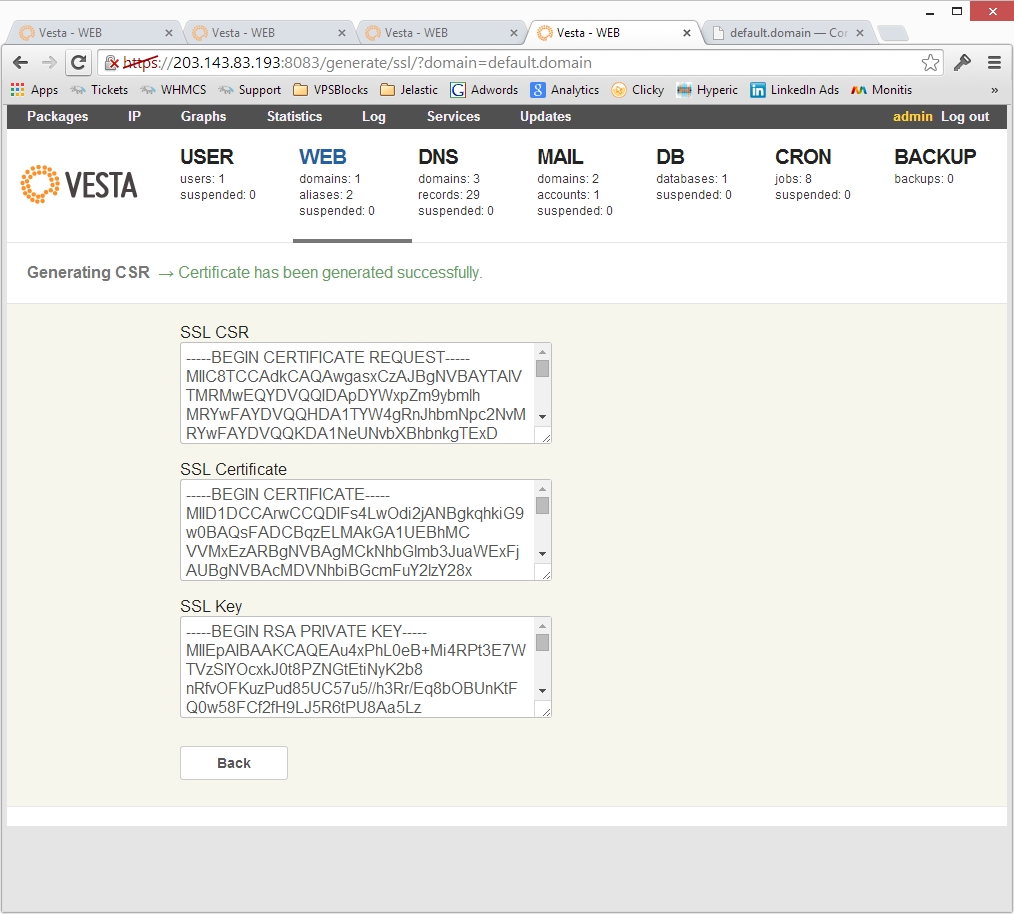
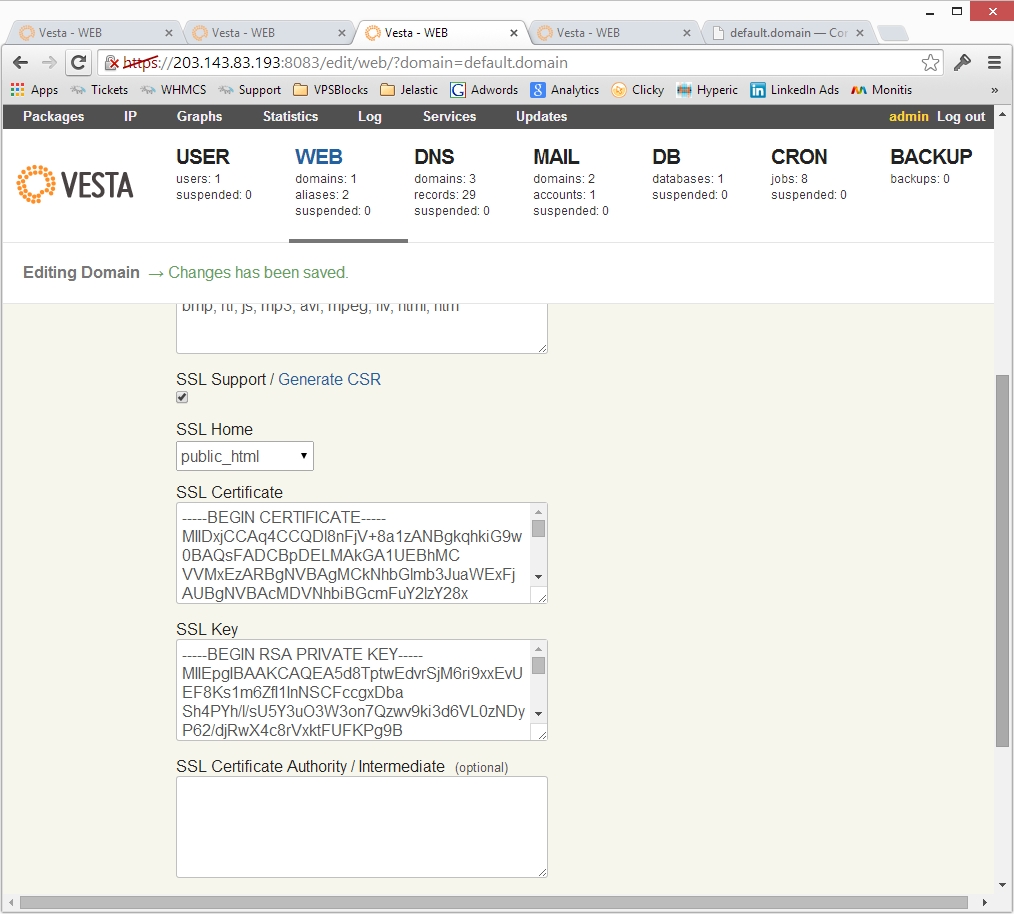
ENABLING SELF-SIGNED SSL ON YOUR WEBSITE To enable self-signed SSL on your default website so things like webmail are accessed via SSL you need to do the following. Click on 'WEB' Click on 'edit' next to the default domain Check the box next to 'SSL Support' Click on 'Generate CSR' (this opens in a new browser window/tab) Fill out the details, and change the Domain to a domain name that resolves to the server
Then copy and and paste each of the details into the editing domain section. Note that they are not in the same order, so ensure you copy the certificate and key correctly. THe SSL Certificate Authority would be blank.
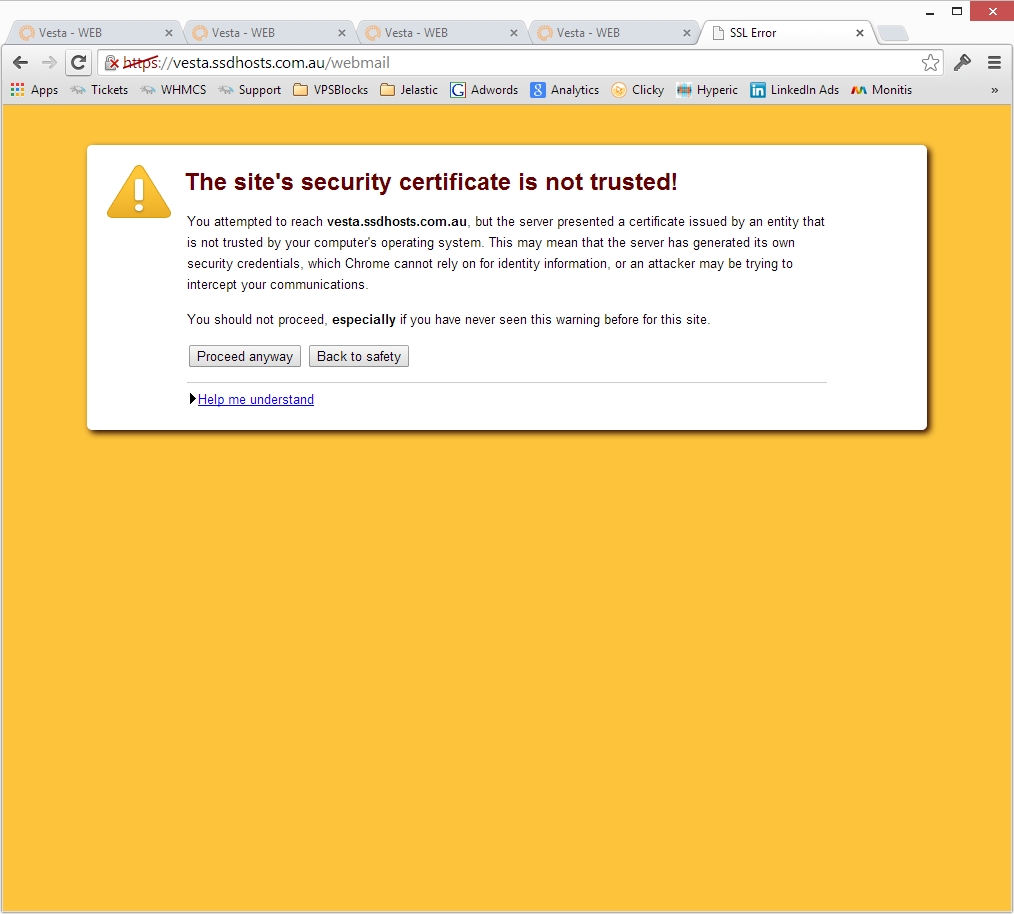
Click 'Save' You will get warnings due to this being a self-signed certificate, but logging in via webmail will be secured.
DNS RECORDS When you add a website the DNS records are automatically created for it. However, it's up to you whether you want to create your own DNS servers (ns1.yourdomain.com/ns2.yourdomain.com) and use Vesta to manage your DNS records, or use our provided DNS servers (ns1.controlmyvps.com.au/ns2.controlmyvps.com.au) and enter the DNS records yourself in our control panel. If you setup your own DNS servers, you can edit/add any DNS records in the DNS section. Note that if you do not setup your own DNS servers then anything you do in this section will not be public or have any impact in the rest of the internet - e.g. you should make changes you need in our provided control panel.
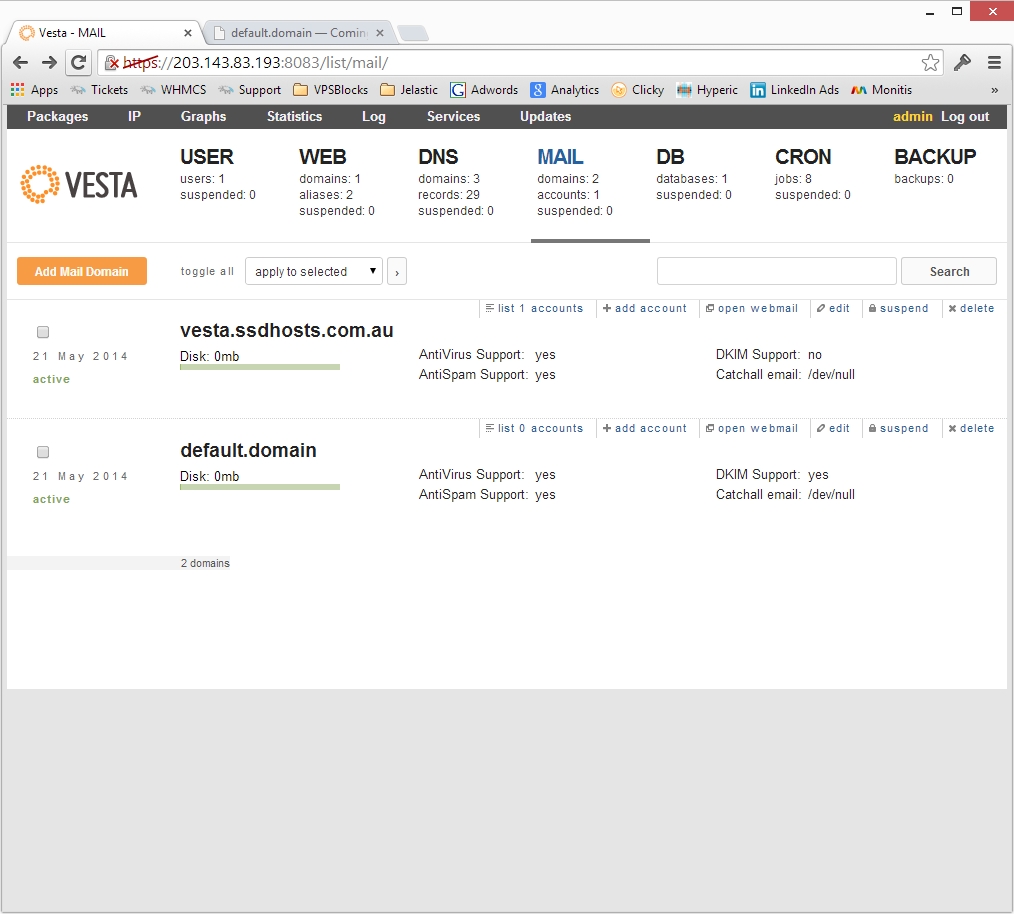
To setup mail for your domain you will need to go the MAIL section. Here you can add/edit domains that you host mail for, and also add/remove mail accounts, open webmail and more. If you've used the default website as your website, you will need to click on 'Add Mail Domain' and add your domain Then click 'Add account' to add email accounts
WEBMAIL Providing you have followed the instructions on enabling the self-signed SSL, Webmail can be accessed at any time at https://YOURIP/webmail/ or https://YOURDOMAIN/webmail/ If you have not then you can only access at http://YOURIP/webmail/ or http://YOURDOMAIN/webmail/
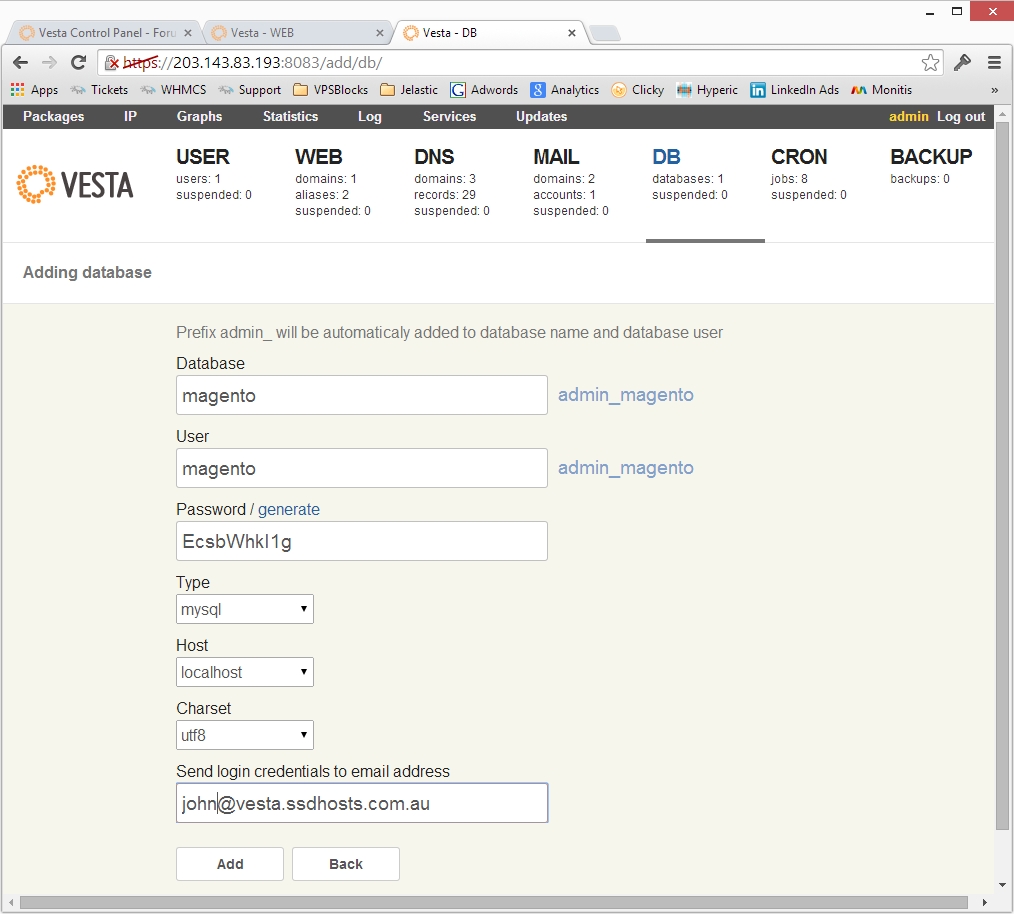
DATABASE If you are installing a CMS such as Magento, Joomla, Wordpress, Prestashop etc. you will need a database. First click on 'DB' Then click on 'Add Database' Here fill out the name of your database, note that the user you are currently logged in with will be prefixed to your MySQL database and MySQL username.
FTP You can FTP into the server using SFP or SCP as your admin user. When you login you will see four folders. Browse into the web folder, there you will see a folder for each site under your username. Under that the public_html folder is your web root folder. Click 'Save'
INSTALLING MAGENTO First download the full version of Magento, and extract it on your local machine. Then FTP into the server and upload all the files into the public_html directory. Then delete the file index.html Then browse to http://YOURSITE/index.php Follow the steps to install Magento
UPDATING YOUR SERVER (Debian and Ubuntu) You're nearly complete, but now you need to ensure your server is running the latest version of everything that's just been installed. To do that first SSH into your server, then type: Answer yes to any questions posed.
RUNNING A LOW MEMORY VPS If you are running on a VPS and only have 512MB of RAM, you may need to perform some tweaks, we recommend that you:
[mysqld_safe] [mysqld] # CACHES AND LIMITS # tmp-table-size = 32M # INNODB #
| |
|
|